When you spend hours knitting something beautiful, you want it to look its best. That’s where blocking pins come in. These simple tools help your finished pieces look smoother, more even, and perfectly shaped. Whether you’re a beginner or an experienced knitter, using blocking pins for knitting can turn a good project into a great one.
What Are Blocking Pins for Knitting?
Blocking pins are tools used to shape and flatten knitted or crocheted items after they are finished. When you knit something, the stitches may be uneven, or the edges might curl. Blocking is a process where you gently wet or steam your finished piece and then pin it in place so it dries in the correct shape.
These pins are not your ordinary sewing pins. Blocking pins are stronger and usually made of stainless steel to prevent rust. They are designed to hold fabric securely while it dries, giving your work a professional and polished finish.
Some pins are individual and sharp, while others come in the form of combs that can hold down more fabric at once. No matter which type you choose, blocking pins are essential for anyone who wants their handmade pieces to look neat, smooth, and store-bought perfect.
Why Do Knitters Use Blocking Pins?
Knitting projects don’t always come off the needles looking exactly like the pattern photo. That’s because yarn can stretch, curl, or shift. Blocking helps fix that. It allows you to adjust the size, shape, and drape of your item. And blocking pins make the process easier, especially when accuracy matters.
For example, when making lace shawls or detailed sweaters, blocking helps open up patterns and straighten edges. It can also even out stitches and help seams lay flat. If you’ve ever wondered why some people’s projects look so perfect—blocking is often the reason.
Using blocking pins for knitting gives your finished pieces a more professional appearance. It helps ensure your measurements match the pattern, and it helps maintain the shape over time, even after washing. So, if you’re serious about knitting, blocking pins are a tool you’ll want in your kit.
Types of Blocking Pins You Can Use
There are a few different types of blocking pins available. Each one has its own strengths, depending on the kind of project you’re working on and the results you want. Let’s look at the most common options knitters love to use.
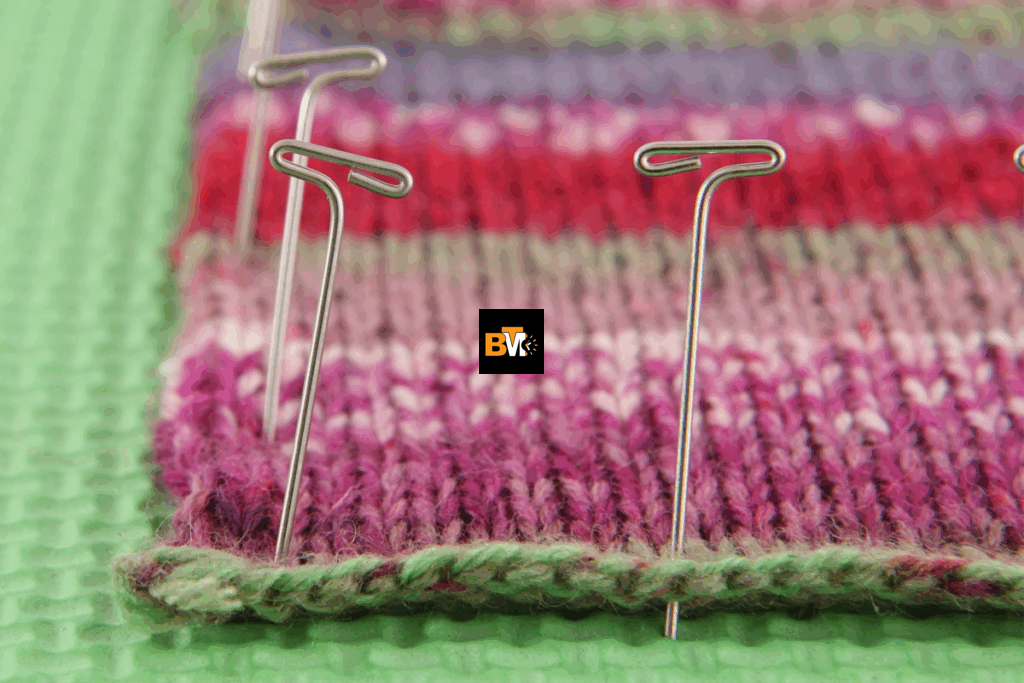
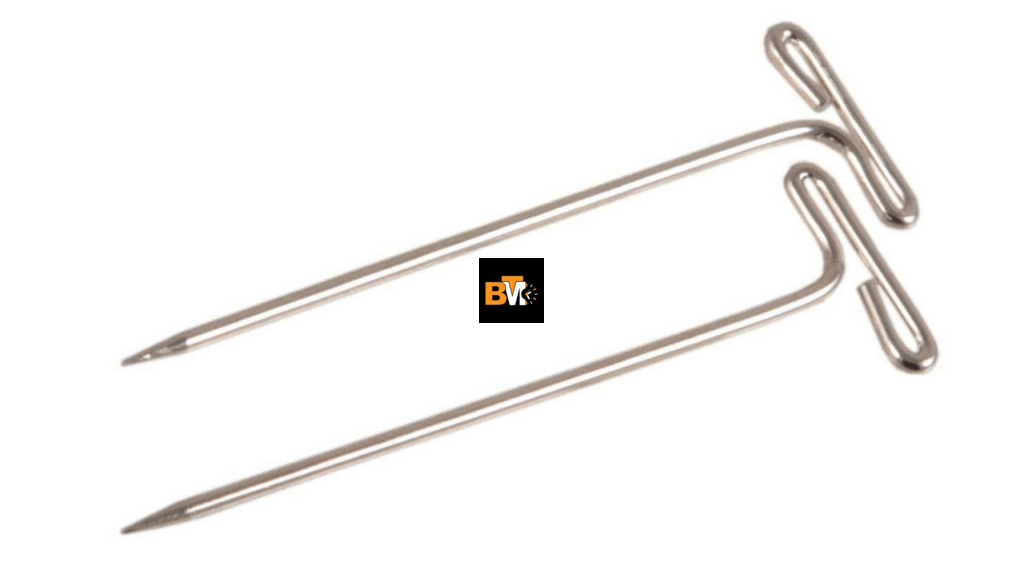
T-Pins for Strong Hold
T-pins are the most traditional type of blocking pin. They get their name from the “T” shape at the top, which makes them easy to grip and push into your blocking board. These pins are sturdy and long, which helps them stay put even if your yarn is thick or heavy.
They’re perfect for pinning down edges, corners, and seams. T-pins also work well for large projects like sweaters and shawls. Look for stainless steel or nickel-plated T-pins to avoid rusting, especially if you use steam or water during blocking.
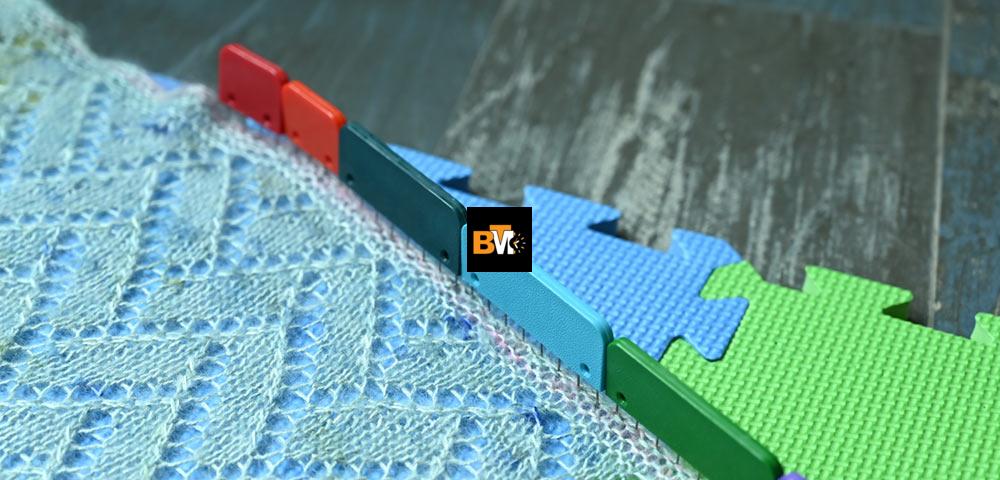
Blocking Comb Pins for Speed
Blocking combs are a newer innovation and a real time-saver. Instead of pinning each spot one by one, combs let you pin an entire edge in seconds. These combs have several pins built into a plastic or metal base, so you can press them down in a line to hold your fabric in place.
They’re ideal for straight edges and saving time when you need to pin multiple points evenly. Many knitters use them alongside T-pins for best results—combs for the long stretches and T-pins for corners and curves.
Rust-Free Pins Are Best
It’s important to choose rust-free blocking pins. Blocking usually involves water, steam, or both. Regular pins can rust and leave stains on your beautiful handmade item. Rust-free options like stainless steel or nickel-coated pins last longer and keep your knits safe.
If you’re shopping online or in a craft store, always check the packaging to see if the pins are labeled as rust-proof. This small detail can make a big difference in the long-term quality of your tools and your finished projects.
How to Use Blocking Pins the Right Way
Using blocking pins correctly isn’t hard, but there are a few things to keep in mind for the best results. First, you’ll need a surface to pin your project to—usually a foam blocking board, yoga mat, or thick towel-covered surface. Lay your piece flat, making sure it’s damp or freshly steamed.
Start by placing pins at key points like corners and edges. Then gently stretch your fabric to the size and shape you want, adding pins as you go. For straight edges, place pins every 1–2 inches to avoid waves or bumps. Use blocking combs to make this even easier.
Let your piece dry completely before removing the pins. This is important because if it’s still damp, it might shrink or change shape. Once dry, your project will hold its shape beautifully.
Best Places to Use Blocking Pins
Blocking pins are useful for all kinds of knitted projects. Here are some of the best uses:
- Lace shawls and scarves – Blocking opens up the lace and defines the pattern.
- Sweaters – Blocking helps seams lay flat and ensures correct sizing.
- Blankets and afghans – Pins help keep edges straight and prevent curling.
- Hats and mittens – Blocking shapes these small projects neatly.
- Baby clothes – Even tiny garments look better with a little blocking.
No matter what you’re making, blocking can bring out the best in your work. It’s especially helpful for garments that need to fit well and look clean.
Tips for Knitting Beginners
If you’re new to knitting, the idea of blocking might seem intimidating—but don’t worry. It’s actually a very beginner-friendly skill. Here are some easy tips to help you get started.
Start with Small Projects
Don’t begin with a big sweater. Try blocking a simple scarf or dishcloth first. This will give you a feel for how the yarn reacts to water and pins. It’s also less stressful to make mistakes on small projects.
Practice helps, and each time you block something, you’ll get better at shaping it just right.
Use a Foam Board or Yoga Mat
You don’t need fancy equipment. Many knitters use interlocking foam mats (like the kind used in kids’ playrooms) or an old yoga mat. Just make sure the surface can hold pins firmly and won’t be damaged by water or steam.
These make great reusable blocking surfaces and are easy to store when not in use.
Where to Buy Blocking Pins in the USA
If you’re in the U.S., you can find blocking pins in many places. Here are some popular options:
- Amazon – A wide range of T-pins, blocking combs, and kits.
- Joann Fabrics and Crafts – Offers both online and in-store options.
- Michaels – Carries pins and sometimes foam boards too.
- Etsy – Great for handmade or specialty pins.
- Local Yarn Stores – Support small businesses and get advice from experts.
When shopping, look for “blocking pins for knitting,” “rust-proof T-pins,” or “knit blockers.” Make sure the product has good reviews and includes all the tools you need.
Thoughts on Blocking Pins for Knitting
Blocking pins may seem like a small detail, but they can make a huge difference in the way your finished knitting looks. With a little patience and the right tools, your handmade items will go from looking homemade to professional. Think of them as the final touch that brings your project to life.
Even if you’re just starting out, it’s worth learning how to block and pin your work. It will boost your confidence and make you proud of every project you complete.
The Bottom Line
Blocking pins for knitting are essential if you want your handmade pieces to look neat, smooth, and beautifully finished. Whether you use T-pins, blocking combs, or a combination of both, taking the time to block your work makes a world of difference. It’s a simple step that even beginners can master—and once you try it, you’ll never want to skip it again.
So, grab your yarn, finish that project, and get ready to make it shine with blocking pins. Your knitting deserves to look its very best.