If you’re new to 3D printing or simply curious about where to find amazing, free-to-download 3D models, let us introduce you to the world of Thingiverse.
In this article, we’ll explore everything you need to know about Thingiverse, from how to find printable files to uploading your own creations. Whether you’re a hobbyist, educator, or a curious DIY enthusiast, this guide is written in plain language to help you get started — and keep going.
What is Thingiverse?
At its core, Thingiverse is a massive online repository of free 3D printing designs. It’s kind of like YouTube, but for 3D printable objects. Created by MakerBot, Thingiverse has grown into one of the most popular places to find STL files — the format used for most 3D prints.
And the best part? It’s completely free.
From useful household tools and cosplay props to educational models and miniature figurines, you can find just about anything on Thingiverse.
Why Use Thingiverse?
There are many reasons why makers love Thingiverse:
- Free downloads: No subscription required.
- Massive community: Millions of users sharing millions of designs.
- Creative inspiration: Thousands of categories to spark new ideas.
- Open-source spirit: Remix and improve others’ designs.
- Educational use: Teachers and students can explore STEM projects hands-on.
Thingiverse isn’t just a tool — it’s a community. You’ll find people collaborating, commenting, and even remixing each other’s work
Getting Started with Thingiverse
Here’s how to dive into the world of Thingiverse, step by step.
Step 1: Create an Account
You don’t have to create an account to download models, but if you want to upload, comment, or save collections, it’s worth the two-minute setup.
- Go to Thingiverse.com.
- Click “Sign Up” in the upper right corner.
- Create a username and password, and you’re in!
Pro Tip: Use the same email you use for your 3D printing software or slicing tool — it keeps everything connected.
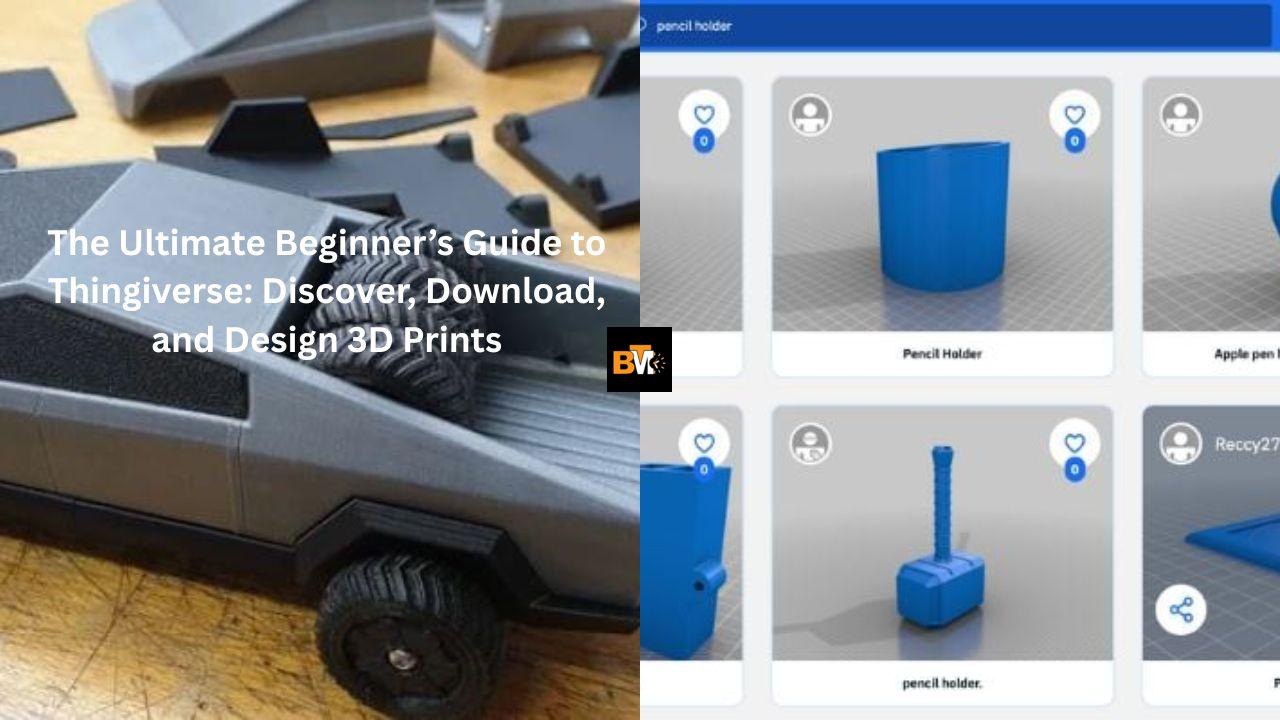
Step 2: Search for Designs
Once logged in, you’ll find a simple search bar at the top. Just type in what you’re looking for.
Need a phone holder? Type “phone stand.”
Want to print a Baby Yoda? Search “Grogu” or “Baby Yoda.”
Looking for classroom materials? Try “STEM kits” or “3D geometry shapes.”
You can also browse categories like:
- Art
- Household
- Tools
- Gadgets
- Games
- Fashion
- Education
Step 3: Filter Your Results
One common mistake beginners make is downloading files that aren’t designed for 3D printing — but for CNC or laser cutting instead.
So, make sure to:
- Use the filter “Customizable Things” to find editable projects.
- Sort by “Makes” to see which ones have actually been printed successfully.
- Read comments to spot issues before you hit download.
Step 4: Download STL Files
Once you find a design you like, it’s time to download it.
- Click on the model.
- Scroll down and click the blue “Download All Files” button.
- You’ll get a ZIP file with STL files, images, and sometimes a README file.
Quick Tip: Always check the “Summary” section to read instructions or specific printing recommendations.
What File Types Does Thingiverse Use?
The main file you’ll see is .STL, which stands for Stereolithography. That’s the standard for 3D printers.
However, you might also see:
- .OBJ – another 3D model format
- .SCAD – OpenSCAD files (for customizable or parametric models)
- .STEP or .IGES – for engineering use
Most home 3D printers just need the STL file. You’ll load that into your slicer software next.
How to Print a Thingiverse File
Here’s where the magic happens. Once you have an STL file, here’s the general process:
Step-by-Step 3D Printing Workflow
- Import the STL file into slicing software (like Cura, PrusaSlicer, or Bambu Studio).
- Choose your printer settings: layer height, infill, supports, temperature, etc.
- Slice the model — this turns it into G-code.
- Save the G-code to an SD card or send it directly to your printer (Wi-Fi/printer-specific).
- Print the model.
- Post-process, if needed (remove supports, sand, paint, etc.).
And voilà! You’ve just printed your first Thingiverse design.
Remixing and Customizing Models
One of the coolest things about Thingiverse is the ability to remix.
Let’s say you find a shelf bracket, but the size doesn’t work for your space. If the original design includes a .SCAD file or is labeled as customizable, you can open it in a program like OpenSCAD and adjust the measurements.
Some models are even Customizer-enabled, meaning you can tweak things like text, dimensions, or shape directly on the website — no software required.
A Personal Story: From Clueless to Creator
When I got my first 3D printer in 2021, I didn’t even know how to load filament properly. I remember browsing Thingiverse late one night, feeling overwhelmed.
But then I found a simple “Filament Clip” design. It was tiny, quick to print, and surprisingly useful. I downloaded it, sliced it in Cura, and printed it the next morning.
It worked.
That one small win boosted my confidence. Soon, I was printing drawer organizers, kitchen tools, and even parts for my bike.
Months later, I uploaded my first model — a custom label holder for storage bins. It wasn’t fancy, but someone downloaded it and left a “Thanks!”
And that’s what makes Thingiverse special: it connects makers all over the world in ways that are both practical and meaningful.
Best Practices When Using Thingiverse
Check the Print Settings
Not every model comes with detailed print settings, but if the creator included them, use them! Settings like infill, support, and print orientation can make or break a successful print.
Read the Comments
Always scroll down to the comments before printing. Other users often point out bugs, tips, or even suggest better slicing profiles.
Give Credit & Say Thanks
If you post a remix or share someone’s model on social media, give credit. It keeps the community supportive and respectful.
And don’t forget to hit the “Like” button or leave a comment when a model helps you out. A little appreciation goes a long way.
Uploading Your Own Design to Thingiverse
If you’re ready to give back, here’s how to share your own model:
- Click “Upload a Thing” in the top-right menu.
- Fill in the title, description, and tags.
- Upload your STL, images, and optional design files.
- Choose a license (like Creative Commons).
- Hit Publish.
Done!
Your design is now part of the ever-growing Thingiverse universe.
Alternatives to Thingiverse
While Thingiverse is the oldest and most well-known platform, it’s not the only one. Depending on your needs, you might also explore:
- Printables by Prusa – Sleek design, strong community.
- Cults3D – Mix of free and paid models.
- MyMiniFactory – Great for miniatures and detailed art.
- Thangs – 3D model search engine with version control.
That said, Thingiverse still leads in community size, design variety, and open access.
Final Thoughts: Why Thingiverse Still Matters
In an age where many platforms charge subscriptions or lock features behind paywalls, Thingiverse remains a beacon for open-source creativity. It gives everyday makers access to professional-grade tools, designs, and inspiration — all for free.
Whether you’re a teacher introducing students to engineering, a hobbyist building props for your next cosplay, or a DIYer solving household problems, Thingiverse has something for you.