Trimming hedges is more than just a quick garden task—it’s an art that brings a polished, well-maintained look to your property. To achieve that professional appearance, it’s crucial to understand the right techniques, timing, and tools. Whether you want to enhance your home’s curb appeal or maintain privacy, this guide will cover essential tools and best practices for trimming hedges like a pro, ensuring they remain healthy and beautifully shaped all year round.
Essential Tools for Hedge Trimming
Before diving into the trimming process, having the right tools is key. High-quality tools make all the difference in achieving a clean and precise finish. Consider these essential tools every gardener needs:
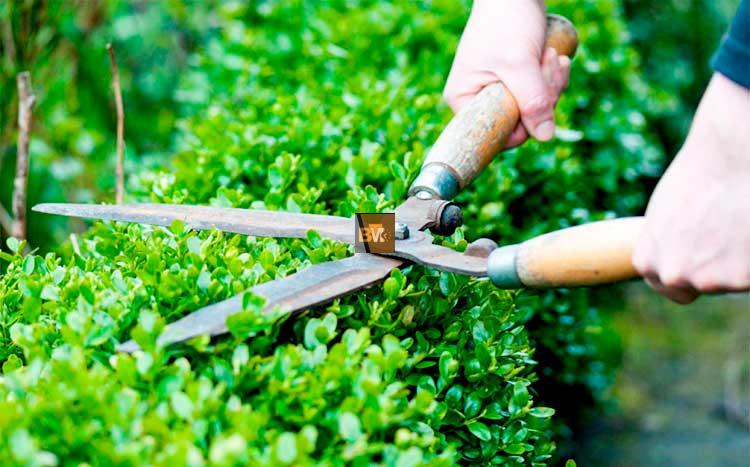
- Hedge Shears: Ideal for shaping and cutting small branches, manual hedge shears are perfect for detail work and minor touch-ups but may require more effort for larger hedges.
- Electric or Gas Hedge Trimmers: For larger hedges or extensive trimming, electric or gas-powered hedge trimmers provide power and speed, making the job more efficient.
- Pruning Shears are necessary for trimming thicker branches that standard hedge shears can’t handle. They ensure a clean cut that promotes healthy growth.
- Protective Gear: Always wear gloves, safety goggles, and a hat to protect yourself from thorns, debris, and sun exposure.
Best Practices for Trimming Hedges
Having the right tools is just part of the process. Knowing the best practices for hedge trimming will help you achieve a professional look while keeping your plants healthy. Here’s what you need to know:
1. Choose the Right Time:
Timing is crucial for effective hedge trimming. Early spring is the best time for most evergreen hedges, allowing them to recover and grow during the season. Deciduous hedges are best trimmed in late winter while dormant.
2. Shape Matters:
Always aim for a wider shape at the base and narrower at the top when trimming. This allows the lower branches to receive adequate sunlight, promoting even growth. Avoid flat or inverted shapes to prevent bare spots at the base.
3. Start from the Bottom:
Begin trimming at the bottom and work your way up. This method prevents clippings from falling onto trimmed areas, saving time and effort. Use smooth, sweeping motions to achieve a clean, professional cut.
4. Avoid Over-Trimming:
Be cautious not to over-trim your hedges. Cutting too deeply into older wood can limit new growth and harm the plant. Focus on trimming new growth, typically a lighter color, to encourage healthy regeneration.
Hiring a Professional for Hedge Trimming
While trimming hedges can be a satisfying DIY project, achieving professional results often requires expertise, especially for larger or more intricate hedges. If you lack the time, tools, or confidence to do it yourself, hiring a service for hedge trimming in Ottawa can be an excellent option. Professionals like the Only Hedges offer expert hedge trimming services, ensuring your garden looks pristine and well-maintained with minimal effort on your part.
Learning to trim hedges like a pro involves the right blend of tools, techniques, and attention to detail. By following these best practices and investing in the right equipment, you can maintain healthy, attractive hedges that enhance your property’s overall appeal. Whether you handle it yourself or hire a professional, mastering these skills will keep your hedges lush and well-manicured throughout the year.